When editing video, time is a commodity that can't be wasted. A well-organized project can mean the difference between meeting a deadline and missing an opportunity. Whether you're using Final Cut Pro, Adobe Premiere Pro, or any other editing software, efficient media management is crucial to keep your post-production process running smoothly.
Below you’ll find our cheat sheet to help you organize your video files for faster edits and maintain an effective video approval workflow.
1. Begin with a Solid Naming Convention
One of the most crucial steps in media management is developing a consistent naming convention. Begin by including key details in the file names, such as the project title, date, location, and camera angle or shot type. This makes it easier to identify and locate specific clips during the editing process. For instance, a name like ProjectX_2023-04-10_Cafe_Interview_Angle1.mov can be quickly understood and sorted.
2. Folder Structures Are Your Foundation
Creating a logical folder structure is the bedrock for organizing your media. Start with broad categories such as 'Raw Footage', 'Graphics', 'Audio', and 'Exports', and then break them down into more detailed subfolders. For example, within your 'Raw Footage' folder, you can create subfolders for each shooting day or camera. This hierarchical system simplifies the search process, keeps your workspace tidy, and reduces the risk of data loss.
Did you know? Using media management in iconik will let you automatically preserve all of your current organization by tagging each media asset with the folder names they are nested in. Even if files are moved around in your storage, iconik can preserve your organizational hierarchy.
3. Utilize the Power of Metadata
Metadata in video editing is similar to an index in a book – it provides you with detailed information about each clip. Software like Final Cut Pro and Adobe Premiere Pro allows you to add and modify metadata categories such as description, scene, take number, and more. Leveraging metadata can enhance your search capabilities, making it easier to filter and find the exact clips you need quickly.
4. Implement a Media Management System
For professionals and organizations dealing with large amounts of video content, a media management system (DAM or MAM) can be a game-changer. These solutions provide a central repository for all your media assets, allowing multiple team members to access and collaborate on files. These systems often offer powerful search tools and integration with editing software, accelerating your video approval workflow. Newer media management technology, like iconik, even offers collaboration tools for media review and sharing and the ability to connect multiple existing storages to view all assets via on interface.
5. Transcoding for Compatibility and Efficiency
Transcoding your footage into an edit-friendly format upon ingestion can save you time during the editing process. Codecs such as ProRes for Final Cut Pro and DNxHD for Adobe Premiere Pro are designed to enhance performance and reduce the strain on your editing system. Additionally, creating proxy files of your original footage ensures smoother playback and quicker editing, especially when working with high-resolution video.
Iconik automatically creates proxies of any content uploaded to your iconik library. And if you’re working with the iconik Premiere Pro integration, you can work with Edit Proxies in your editing timeline, then reconnect the high-res original file when you’re done.
6. Version Control is Vital
As you advance through the editing stages, ensure that you maintain strict version control. Clearly label each new version of the project and include revision notes. This precaution not only prevents confusion over which version is the most recent but also allows you to backtrack to previous versions if necessary. With iconik, you can add new versions and manage them all within a single asset. If there’s ever a question about feedback, it’s easy to bring up previous versions where you can review all the comments and annotations for a version.
7. Utilize Color Labels and Markers
Both Final Cut Pro and Adobe Premiere Pro offer the ability to color-code clips and add markers. Color labels can help you visually categorize footage by scene, shot type, or status (e.g., ‘to-do’, ‘in progress’, ‘approved’). Markers can be employed to highlight key moments within clips or to add comments for reference. This visual system can significantly speed up the identification and selection process during edits.
Bonus: If you’re using the iconik panel for Adobe, iconik comments and annotations will appear as markers in Premiere Pro.
8. Leverage the Power of Bins and Sequences
In Adobe Premiere Pro, bins function as virtual folders within your project, helping you organize your assets. Use bins to group related clips, sequences, and other media. Meanwhile, in Final Cut Pro, you can use a similar feature known as 'events' to categorize your media. Keep your sequences or projects organized by scene, act, or type of content to have a clear overview of your project's structure.
9. Regularly Backup Your Project
As you organize and edit your video files, regular backups are essential to protect against data loss. Implement a backup system using external drives, cloud storage, or a combination of both. Having multiple copies of your project ensures that you can recover quickly in the event of a system failure or accidental deletion.
10. Optimize the Video Approval Workflow
Incorporating a streamlined video approval workflow is critical for efficiency. Use online collaboration tools that allow team members and stakeholders to review footage and provide feedback in real-time. Platforms, like iconik, that offer sharing and remote access and integrate with your editing software can further speed up the review process, allowing you to implement changes and finalize edits with remarkable speed.
Wrapping it up
A well-organized video editing workflow can dramatically speed up your overall editing time. By implementing these tips, you'll be able to navigate your video content with ease, allowing for a more creative and less stressful editing experience. Whether you're a solo editor or part of a larger post-production team, these strategies will ensure that every project is delivered on time and to a high standard.
Next Steps
We invite you to take our Media Asset Management (MAM) Diagnostic Quiz—a tool designed to assess if you need a dedicated tool to manage your media. By answering a few questions, you receive results that speak to the exact areas where you want to improve.
Learn more about editorial workflows with iconik.
Give iconik a try
Schedule a personalized iconik demo with one of our experts and start your free trial today.


Steve Ferris is content creator and marketer from Indiana, USA who is based in Stockholm Sweden with his family. Since 2019, he's been with iconik using his 20 years experience in storytelling to share the stories around iconik and media professionals.

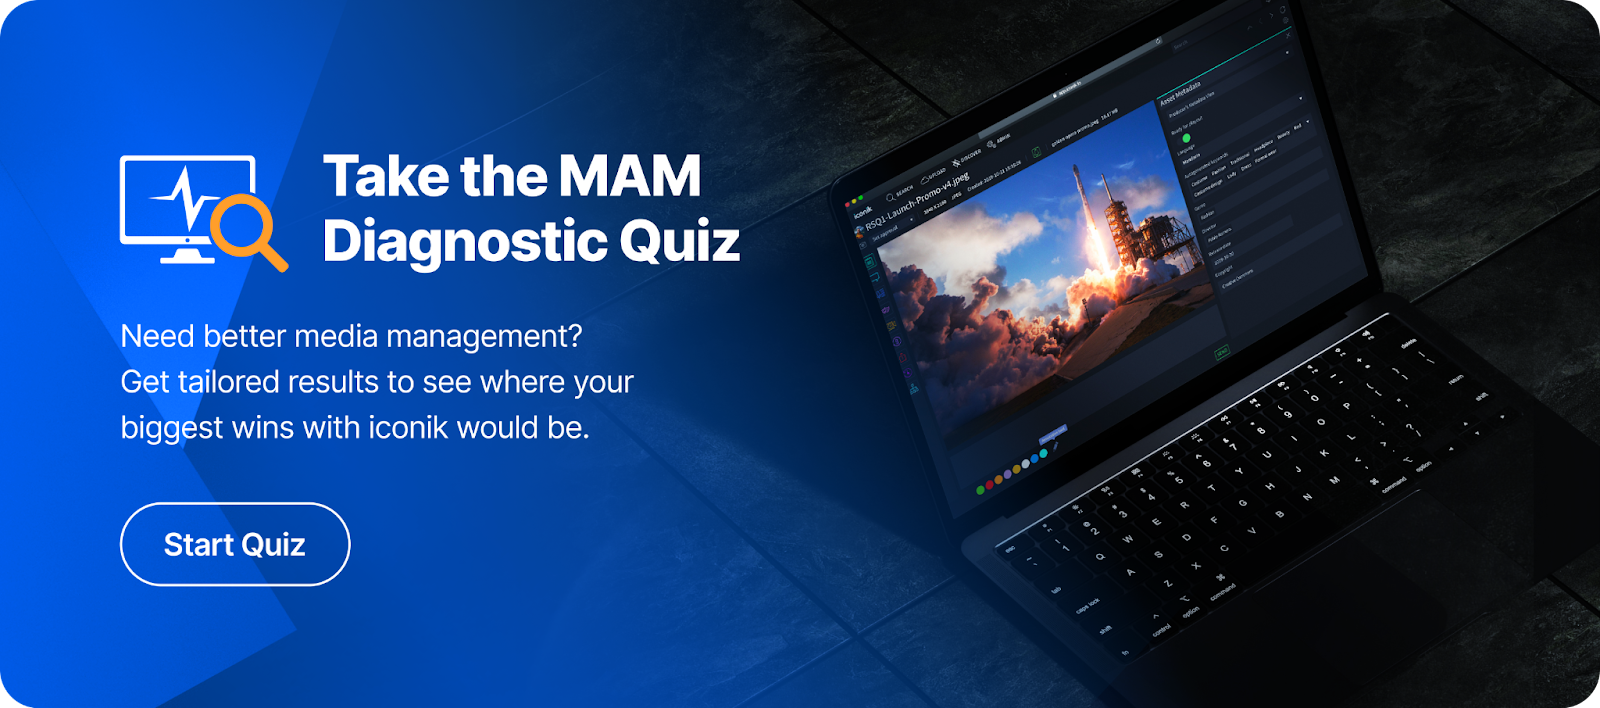
Take the MAM Diagnostic Quiz
Need better media management?
Get tailored results to see where your biggest wins with iconik would be.
-Mar-05-2024-07-18-15-7861-PM-Mar-05-2024-09-56-24-4650-PM.png)